
#Quickstart
This page takes you from nothing to a project with a first quest in it, your team invited and, if you want one, an AI agent connected. It takes a few minutes, and each step links to the page that covers it in depth.
#1. Get an account
There are two ways to use Lore, and everything in this documentation works the same on both:
The hosted instance. Open lore.alepha.dev and sign up from the sign-in page.
Your own instance. One command starts it, and the first account to register becomes its administrator:
bashdocker run -p 3000:3000 -v lore:/data ghcr.io/alepha-dev/loreSee Self-hosting before you put real work in it.
On your own instance, read https://lore.alepha.dev as your own address
everywhere in these pages.
#2. Create a project
Choose New Project on the home page. The wizard asks three things:
- A name. Lore derives the project's address from it:
https://lore.alepha.dev/<slug>. - What the project does. Each switch is a capability: planning work, keeping knowledge, watching and deploying apps, collecting feedback. Pick at least one. Plan and track work and Write and keep knowledge are on by default, and they are all this page needs.
- How to set it up. The options of what you picked, such as epics, releases and the board.
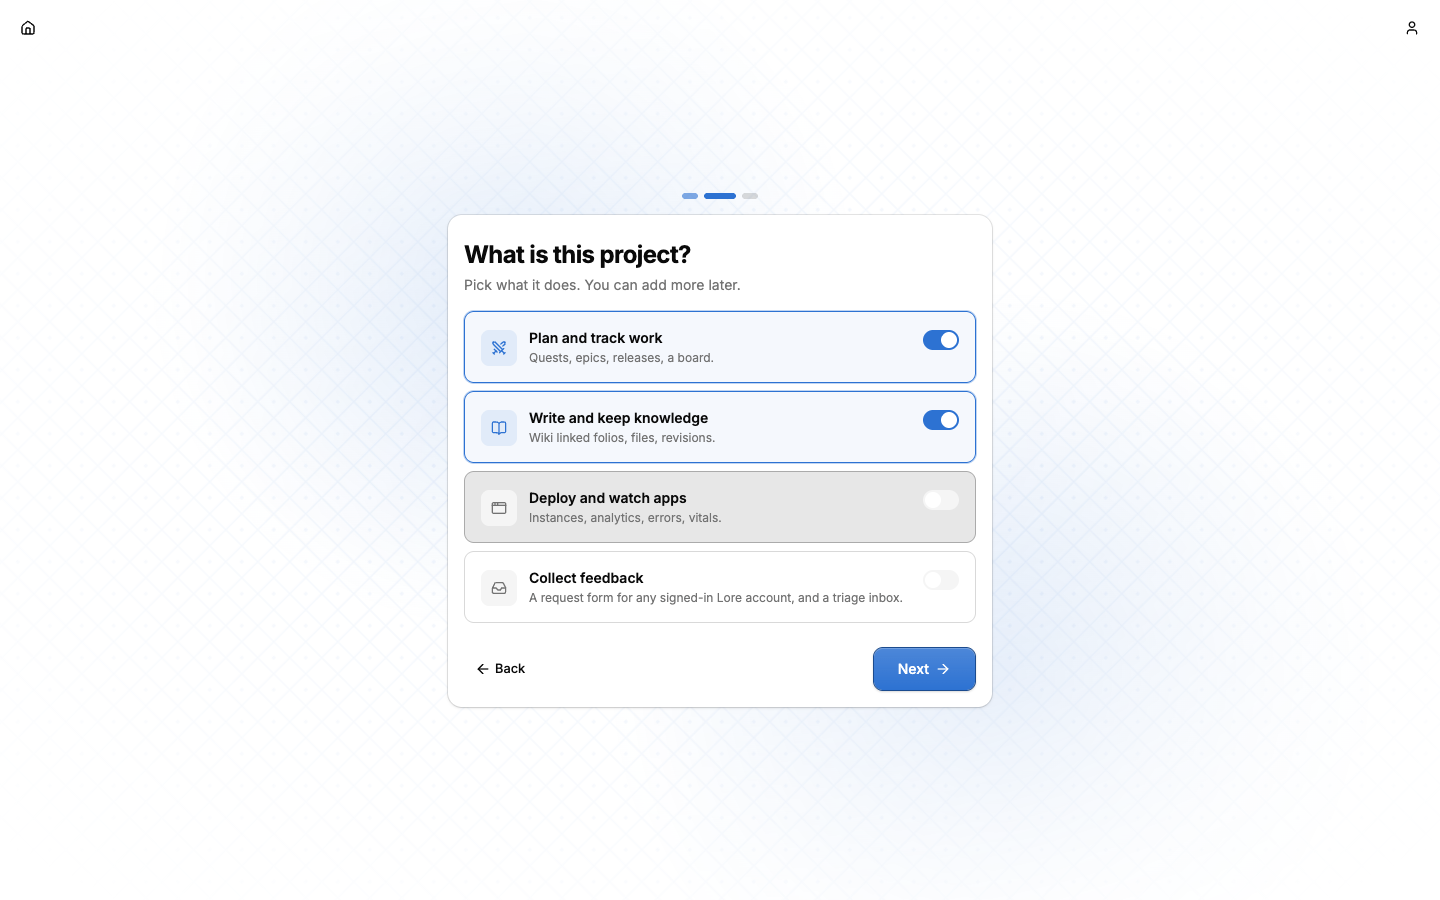
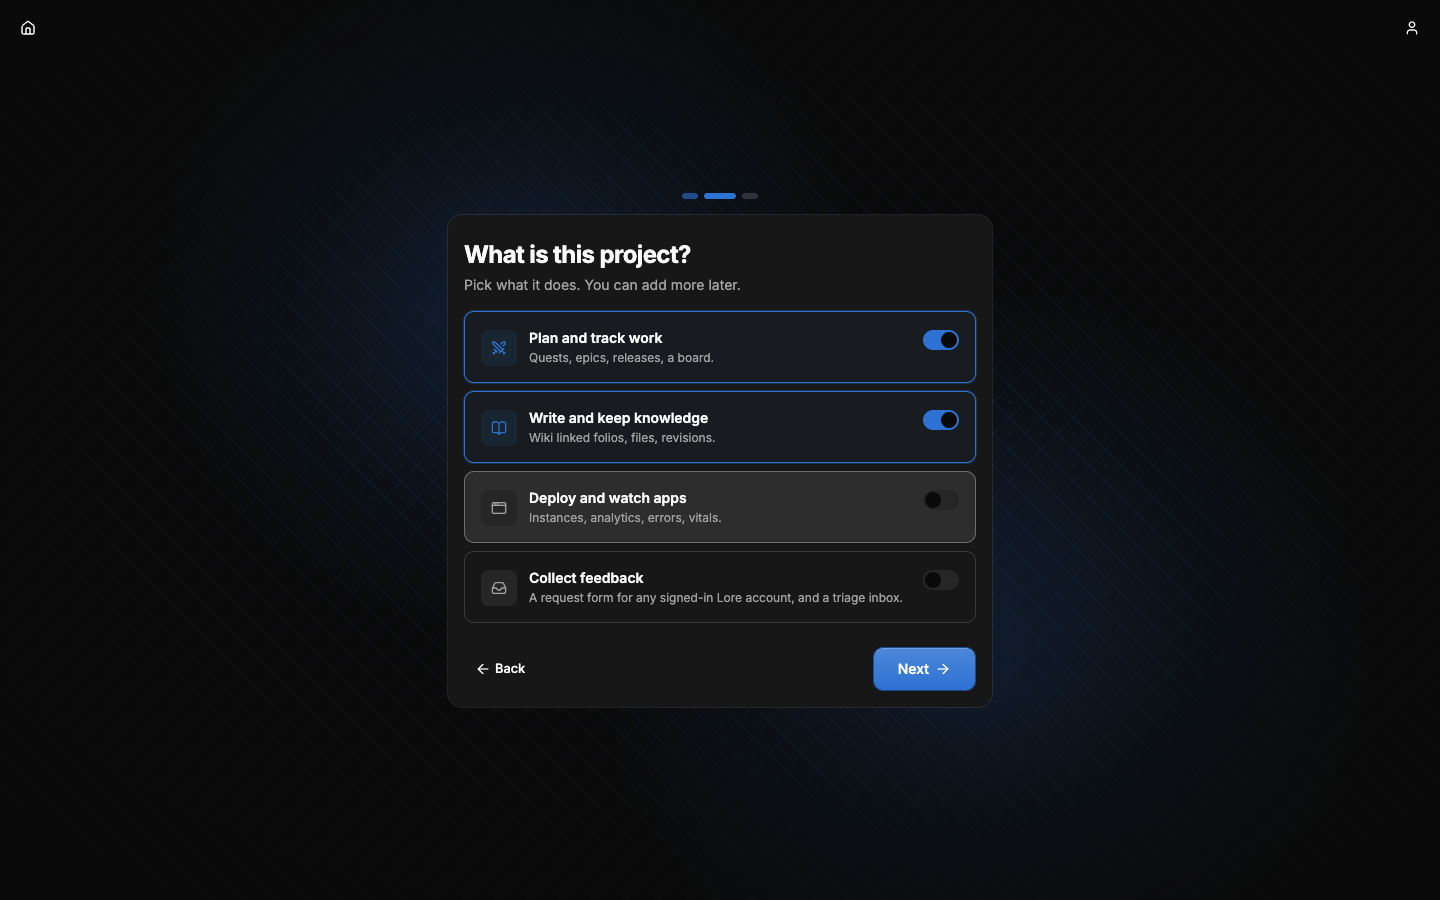
Nothing here is final. Every switch can be changed later in Settings ▸ General ▸ Capabilities, and turning one off hides it without deleting anything. Capabilities describes each one.
#3. File a first quest
A quest is one piece of work: a feature, a bug, a chore. Open Quests in the sidebar and choose New quest. Give it:
- a Name that says what changes, such as "Add a dark mode toggle";
- an Area, the part of your system it touches (
web,api,mobile). Type a new name to create the area; - a Priority, and optionally objectives: the checklist that says when it is done.
Choose Create quest, open it, then Accept the quest to take it. It moves to In progress under your name; tick the objectives as you go and choose Complete quest when the work has landed.
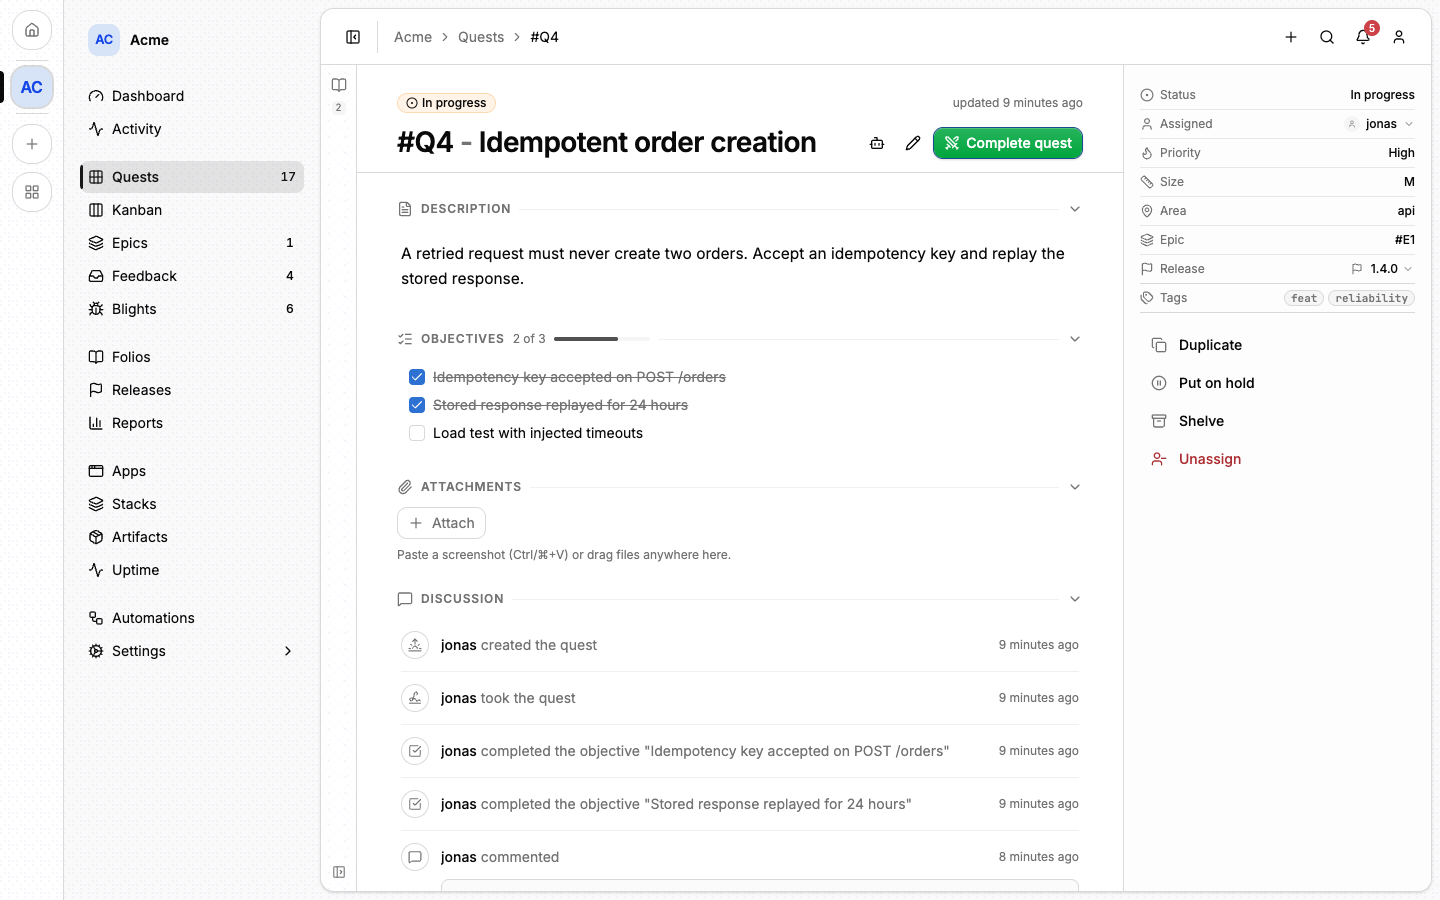
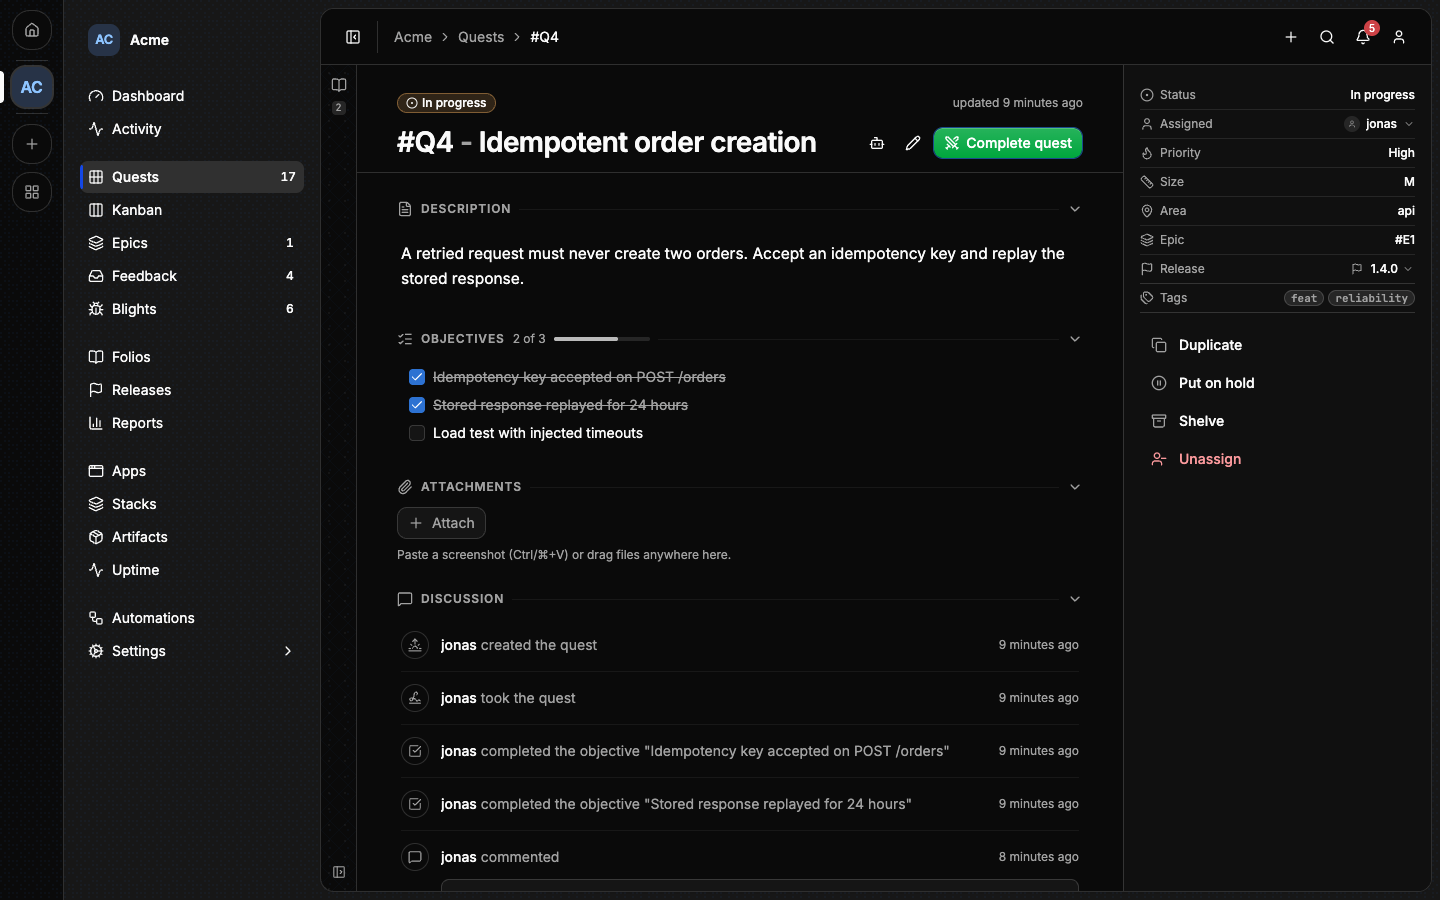
Every quest has a number in its project, written #Q12. Use it in commit
messages, comments and folios, and Lore links it. Quests
covers statuses, the board and everything else.
#4. Invite your team
Open Settings ▸ Members and choose Invite. Enter an email address and the person receives an invitation; once they accept it they are a Member and can read and work on the project.
When you need finer access (someone who only reads, someone who can manage releases), create ranks from Settings ▸ Members ▸ Ranks. Members and ranks explains what each permission allows.
#5. Write down what you know
Open Folios and choose New folio. A folio is a page of the project's
memory: how the system is built, why a decision was taken, what to do when
something breaks. Link folios to each other and to quests with [[#F3]] and
[[#Q12]].
A good first folio is the one a new teammate, or an agent, should read before touching anything: your conventions. Pin it and it is handed to every agent that opens the project. See Folios.
#6. Connect an agent (optional)
If you work with a coding agent, give it the project. Lore is an MCP server at
https://lore.alepha.dev/mcp. With Claude Code, for example:
claude mcp add --transport http lore https://lore.alepha.dev/mcpThe first call sends you to a Lore page that asks you to approve the
connection. From then on the agent acts as you, inside the projects you belong
to: it can read the folios, accept a quest, tick its objectives and leave a
note of what it did. Connecting an agent covers
other clients, API keys and the lore command for terminals and CI.